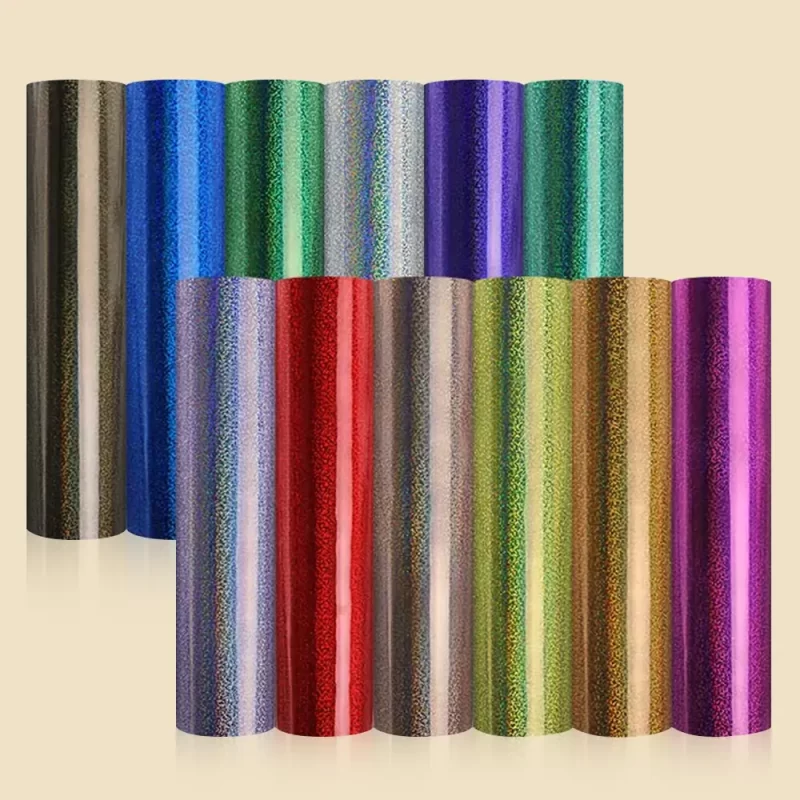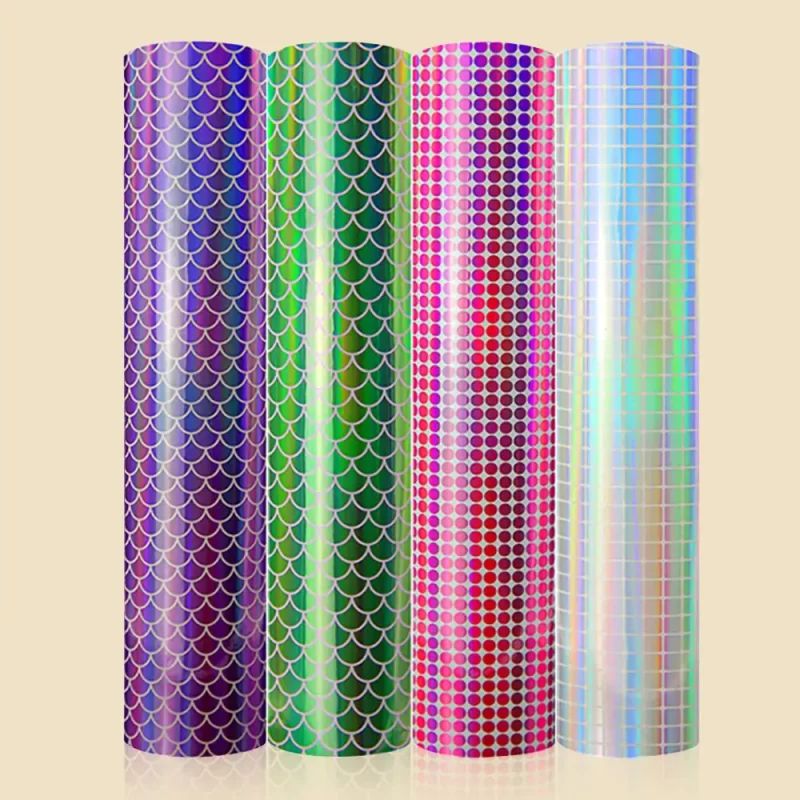

Holographic Adhesive Vinyl Roll
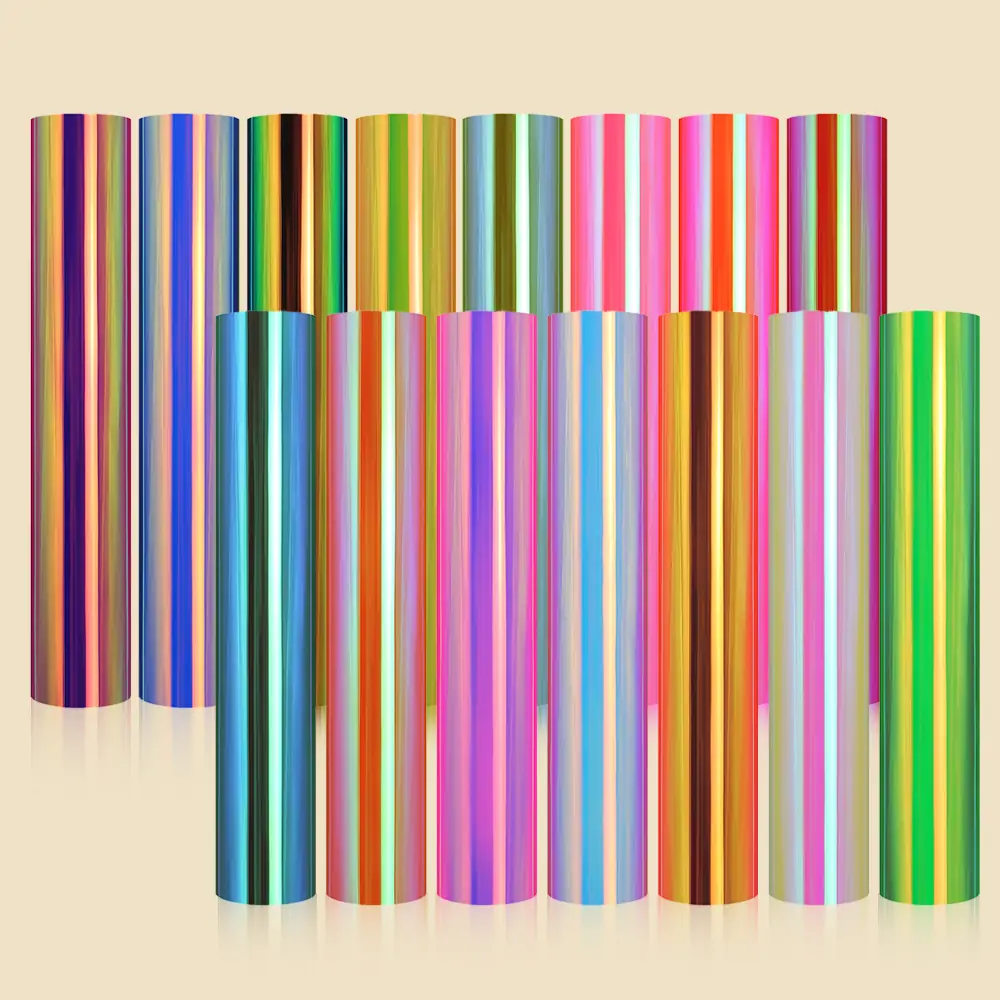
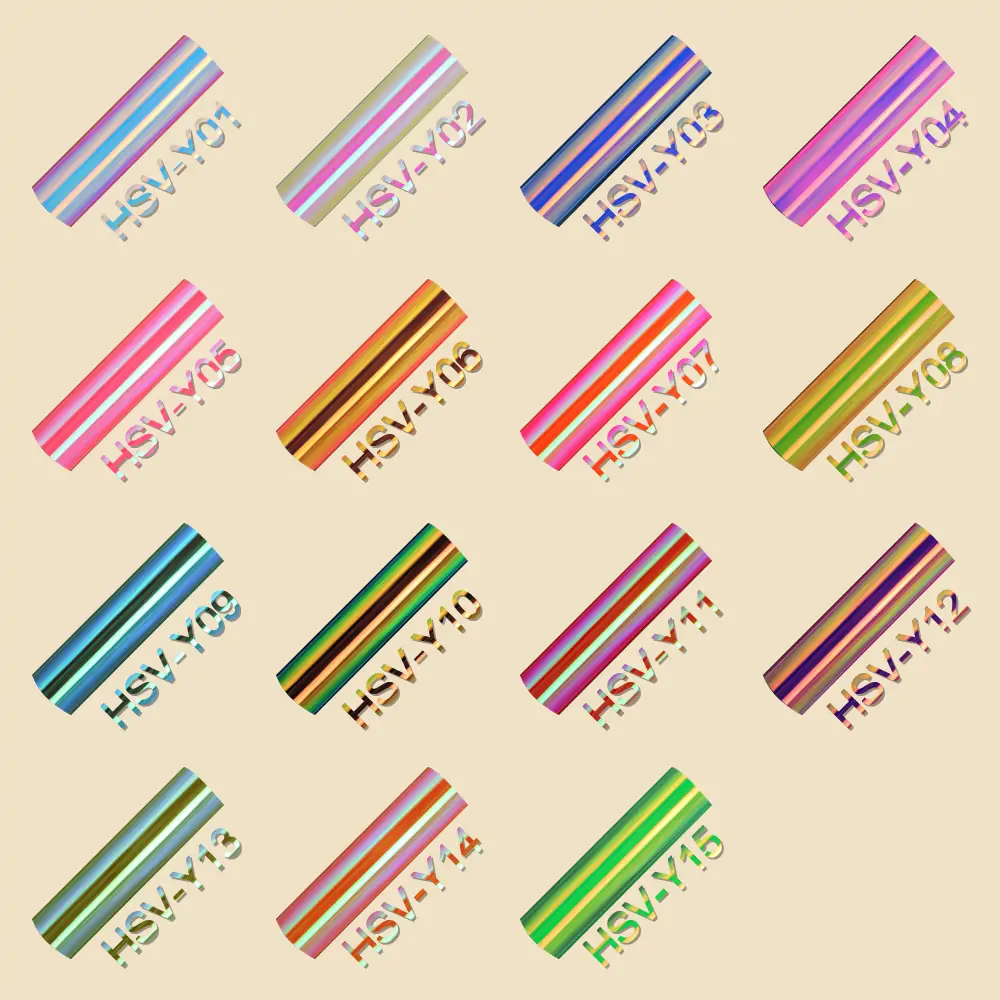
Holographic vinyl cutting is almost exactly the same as other vinyls you have used. Yesion Holographic vinyl has 15 different color schemes.
Specificaltion
|
Surface material |
PET+PVC face film |
|
Release Paper |
PE-Coated Silicon Wood-Pulp Paper |
|
Glue Type |
Pressure-Sensitive |
|
Glue Content |
Solvent Polyacrylate |
|
Glue Thickness |
0.028± 0.002MM |
|
Glue Color |
Transparent |
|
Film thickness(With Glue) |
0.268± 0.022MM |
|
Color |
15 colors |
|
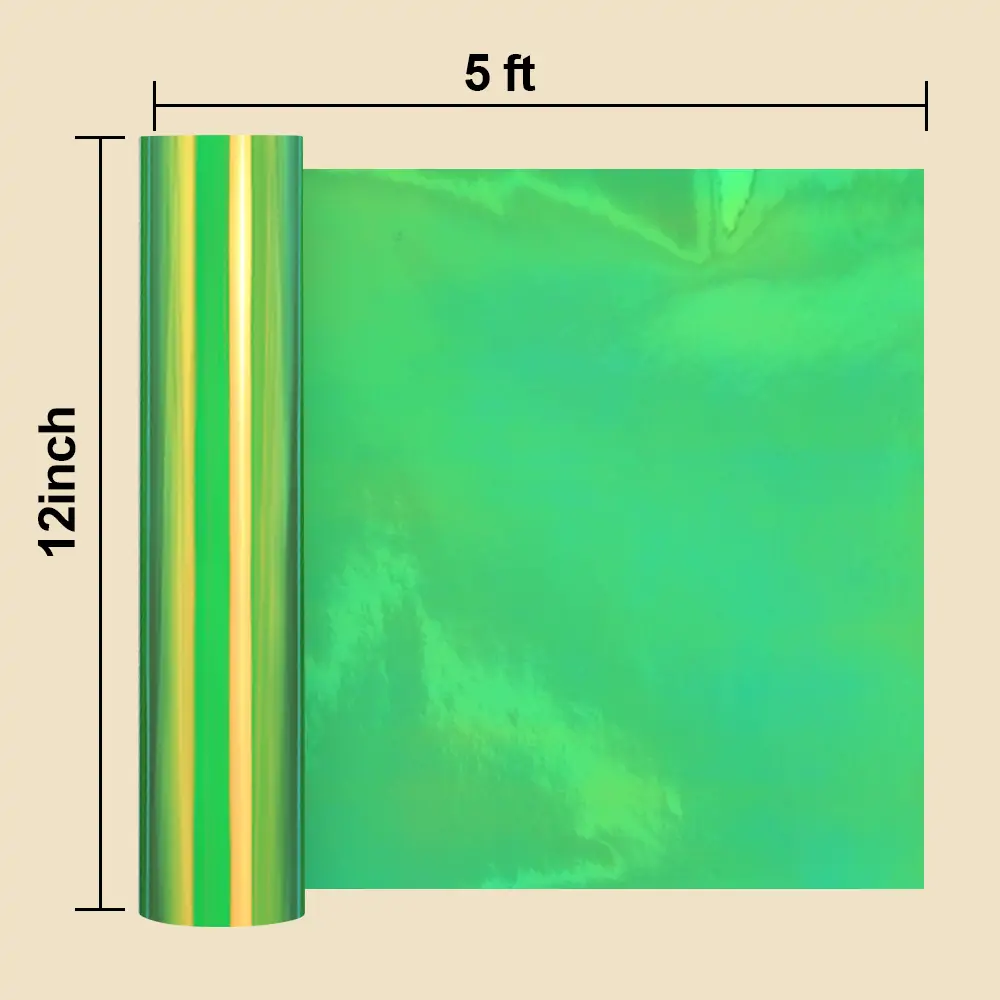
Available sizes |
12inchx5ft |
|
Waterproof |
Yes |
|
Cutting plotter |
Yes |
|
Removability |
Removable With Heat |
|
Stretchability |
Stretchable With Heat |
|
Durability |
Outdoor 3 years, Indoor 6 years |
|
Brand |
Yesion Brand |
|
ODM /OEM |
Yes |
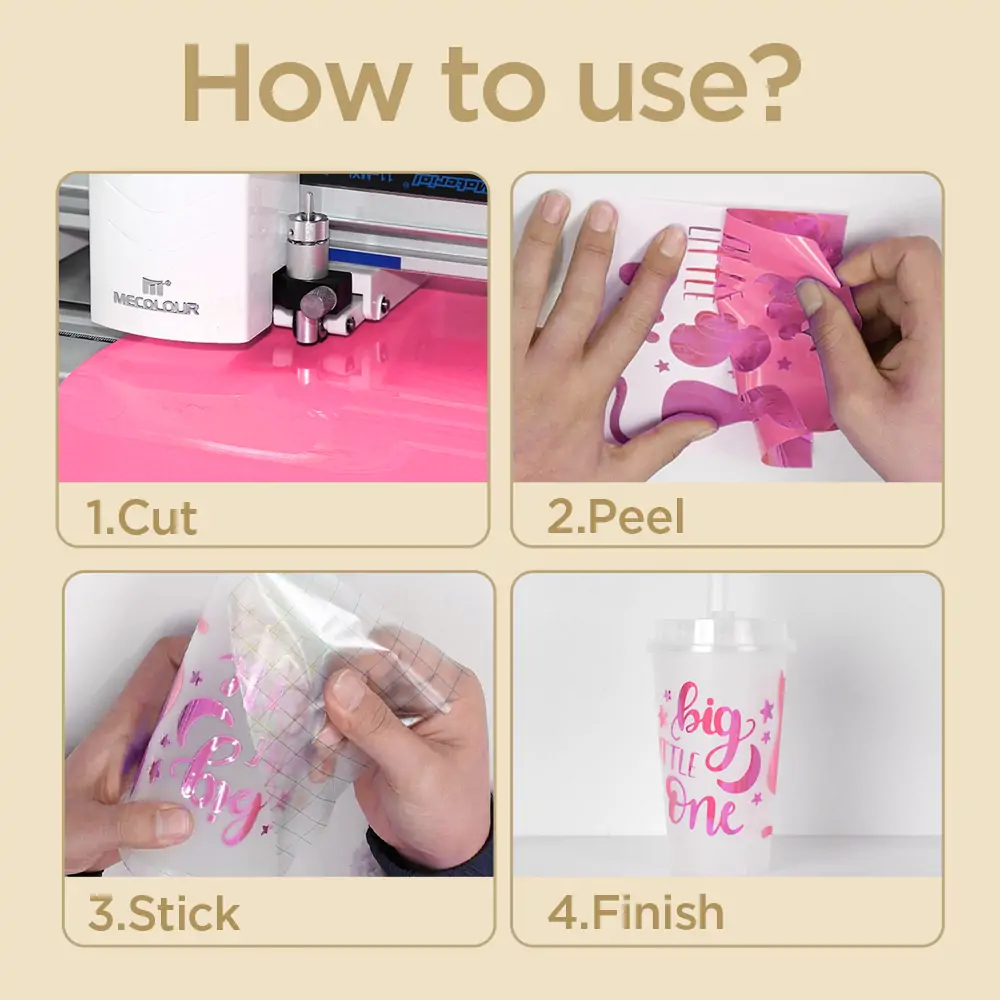
Operation and Video
STEP 1: Clean Your Surface
The first thing you will want to do is make sure the surface that you are planning on applying the craft vinyl to is clean and dry. The smoother your surface the easier it will be to transfer your vinyl onto, but rougher surfaces like wood, textured walls, etc. will still work.
Step 2: Cut Your Design
You can cut your design by hand or use a craft cutter. After your design is all cut, remove the excess vinyl from around your image/lettering (this is called weeding).
Step 3: Apply Your Transfer Tape
Simply place your transfer tape over your vinyl, then take something flat and hard (i.e. credit card, scraper, application tool, etc.) to smooth out any bubbles and to make sure it is securely fastened to the vinyl. Next you will carefully pull off the backing paper from the vinyl being careful to make sure that the vinyl has transferred to your tape.
Step 4: Adhere Your Design
Carefully position it onto your project; once you have it in place, firmly press down and use your scraper to smooth out any bubbles. Always make sure to start from the center and work out towards the edges, this will press out any bubbles instead of pushing them in. Once you have your vinyl securely adhered to your surface, take one corner of your transfer tape and slowly pull downwards at an angle. Run your scraper/application tool (credit card, etc.) over the vinyl once applied to get out any remaining bubbles and help secure it to the surface.
Application
Holographic Adhesive Vinyl bundles are suitable for a wide range of applications including graphics industry, signs, home decor, glass, mirror, ceramic, tiles, cars, letters, banners, striping, decals, picture frames, scrapbooking and more.