
What Is Clear Waterslide Decal Paper and How Does It Work?
2026-06-12
Waterslide decals are one of the most effective ways to create smooth, professional-looking customized surfaces on tumblers, mugs, cups, model kits, glassware, ceramics, candles, and countless DIY projects. However, one of the most frustrating issues during application is the appearance of air bubbles trapped beneath the decal layer. That’s why learning how to remove bubbles from waterslide decals is essential for a flawless, bubble-free finish.
In this guide, we explain exactly how to remove bubbles from waterslide decals easily, restore a clean finish, and improve the overall appearance of your projects.
Why Bubbles Appear in Waterslide Decals
Before fixing bubbles, it is important to understand what causes them.
Air bubbles form when air, excess water, uneven pressure, or improper application methods prevent the decal film from bonding evenly to the surface.
Common causes include:
- Applying decals onto dirty or textured surfaces
- Leaving too much water underneath
- Sliding the decal too slowly
- Not smoothing from the center outward
- Applying decals on curved surfaces incorrectly
- Using insufficient drying time
- Applying thick seal coats too early
Identifying the cause helps determine the fastest solution.
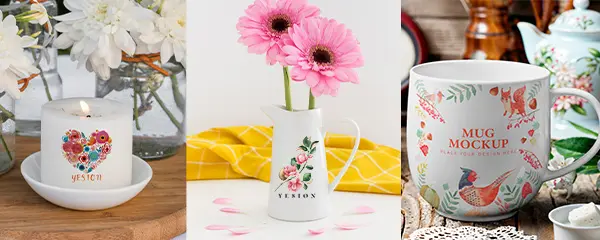
waterslide decals crafts
Prepare the Surface Before Applying Waterslide Decals
Prevention always creates better results than repair.
To minimize bubbles:
1. Clean the Surface Thoroughly
Remove:
- Dust
- Fingerprints
- Oil
- Residue
- Moisture
Use:
- Isopropyl alcohol
- Lint-free cloth
- Mild soap and water
Allow the surface to dry completely.
2. Make Sure the Surface Is Smooth
Waterslide decals adhere best to:
- Ceramic
- Glass
- Metal
- Gloss-coated surfaces
Rough textures trap air pockets.
If necessary:
- Sand lightly
- Apply a clear gloss base
- Remove imperfections
3. Trim Excess Film
Large borders increase the chance of trapped air.
Trim close to the artwork while leaving a small margin to preserve integrity.
Step-by-Step Guide to Remove Bubbles from Waterslide Decals
If bubbles appear after application, use the following techniques.
Method 1: Push Out Air While the Decal Is Still Wet
This is the easiest and safest solution.
Steps:
- Place the decal onto the surface.
- Position carefully.
- Use a soft rubber squeegee, silicone scraper, or microfiber cloth.
- Start at the center.
- Push outward toward all edges.
Apply gentle pressure.
This method removes:
- Excess moisture
- Air pockets
- Wrinkles
Avoid aggressive rubbing.
Method 2: Use a Damp Cloth Technique
For small trapped bubbles:
Instructions:
- Wrap a finger in a soft damp cloth.
- Press gently over the bubble.
- Move toward the nearest edge.
The moisture helps release trapped air without damaging the print.
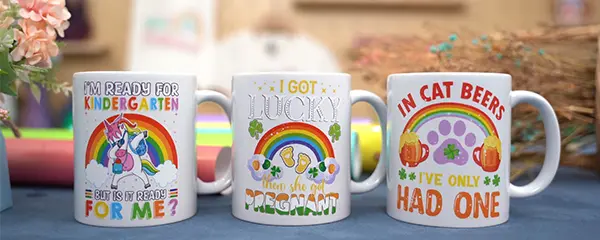
This technique works especially well for:
- Tumbler decals
- Mug decals
- Candle labels
- Glass decoration
Method 3: Pierce Tiny Bubbles with a Fine Needle
If bubbles remain after partial drying:
Process:
- Sterilize a fine sewing needle.
- Make a tiny hole at the bubble edge.
- Press softly with a damp cloth.
- Guide trapped air outward.
Use minimal force.
The puncture becomes nearly invisible after sealing.
This method is highly effective for:
- Small isolated bubbles
- Fully adhered decals
- Detailed graphic areas
Method 4: Rehydrate and Reposition the Decal
Large bubbles often indicate uneven bonding.
Steps:
- Apply small amounts of clean water around the decal.
- Wait 30–60 seconds.
- Carefully lift the affected section.
- Reapply slowly.
- Smooth outward.
Do not overstretch the film.
Method 5: Use Heat Carefully
Controlled heat softens decal film.
Recommended tools:
- Hair dryer (low heat)
- Warm room temperature
- Gentle warming pad
Procedure:
- Heat briefly.
- Press bubbles outward.
Avoid:
- Heat guns
- High temperatures
- Direct concentrated heat
Excessive heat may warp or shrink decals.
How to Remove Bubbles After the Decal Has Completely Dried
Sometimes bubbles appear hours later.
Do not peel immediately.
Try this recovery process:
Step 1 – Inspect Bubble Type
Determine whether it is:
- Air
- Moisture
- Surface contamination
Cloudy bubbles often indicate trapped moisture.
Step 2 – Micro-Puncture Technique
Use:
- Ultra-fine pin
- Craft needle
Create a tiny opening.
Press with:
- Soft cloth
- Cotton swab
Allow air to escape gradually.
Step 3 – Allow Additional Drying Time
Some bubbles disappear naturally.
Recommended drying times:
- Small items: 12–24 hours
- Tumblers: 24–48 hours
- Large surfaces: 48–72 hours
Avoid sealing prematurely.
Best Tools for Bubble-Free Waterslide Decal Application
Professional results become easier with proper tools.
Essential tools:
Soft Squeegee: Removes moisture evenly.
Microfiber Cloth: Protects delicate surfaces.
Precision Tweezers: Improves decal positioning.
Fine Needle: Corrects localized bubbles.
Spray Bottle: Allows controlled hydration.
Cotton Swabs: Perfect for edge finishing.
Common Mistakes That Cause Waterslide Decal Bubbles
Avoid these frequent errors.
Using Too Much Water
Excess water creates hidden pockets.
Solution:
Blot gently before final positioning.
Applying Decals Too Quickly
Rushing causes folds and trapped air.
Solution:
Slide gradually.
Skipping Surface Cleaning
Invisible oils reduce adhesion.
Solution:
Always degrease.
Touching Adhesive Areas
Finger oils weaken bonding.
Solution:
Handle edges only.
Sealing Too Soon
Trapped moisture expands.
Solution:
Wait until completely dry.
Professional Tips for Perfect Waterslide Decal Results
Experienced makers consistently use these practices:
- Work in low-humidity environments
- Use room-temperature water
- Keep decals evenly soaked
- Smooth from center outward
- Dry horizontally
- Apply multiple light clear coats instead of one heavy layer
Perfect Waterslide Decal Results
These small improvements dramatically enhance final appearance.
Can You Save a Waterslide Decal with Severe Bubbles?
Yes—most severely bubbled decals can still be recovered.
Recovery hierarchy:
- Smooth while wet
- Rehydrate
- Needle release
- Heat assistance
- Replace only if damaged
Complete replacement is rarely necessary.
Removing bubbles from waterslide decals does not require complicated tools or professional equipment. With proper preparation, careful application, and the correct repair methods, we can create clean, seamless, and high-quality finishes across cups, tumblers, ceramics, glass, and custom projects.
The key is to act early, apply even pressure, remove excess water, and allow sufficient drying time. Once these habits become part of the process, achieving flawless waterslide decal results becomes faster, easier, and far more consistent.
Related:
How to Prevent Waterslide Decal Cracks After Drying
What surfaces can you use waterslide decals for?
Is Waterslide Decal Paper Permanent?
Waterslide Decal Paper: A Comprehensive Guide for Crafters and Hobbyists