Best UV DTF Film Suppliers You Need to Know
2024-05-24


Applying UV DTF (Direct to Film) film can be a game-changer for anyone in the customization business. Whether you’re a novice or a seasoned pro, this versatile method opens up a world of possibilities for creating stunning designs on various surfaces. However, mastering the application of UV DTF film can be a challenge, especially for beginners. In this comprehensive guide, we’ll walk you through the step-by-step process of applying UV DTF film, ensuring flawless results every time.
Before we get started, make sure you have the following tools and materials on hand:
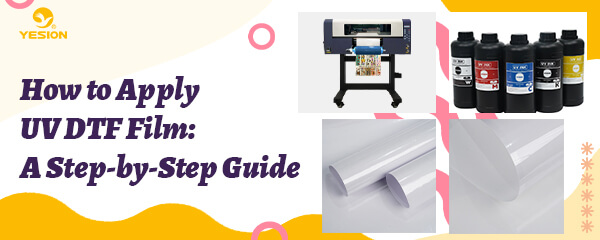
UV DTF printer: a special printer equipped with an LED UV lamp to print designs onto a substrate or UVDTF transfer film.
UV DTF ink: UV light curing ink. Includes CMYK+w and varnish.
UV DTF film: the medium used for printing. The transfer is made by finger pressure only.
Laminator: Adheres the “A” film to the “B” film.
Design Software (e.g., Adobe Illustrator or CorelDRAW)
Cleaning Supplies (e.g., alcohol wipes, lint-free cloth)

uv dtf printing
Step 1: Prepare Your Design
First things first, you need a design. This could be a logo, a piece of artwork, or any image you want to transfer. Using design software, create or import your design and adjust it to the desired size. Make sure the design is in a high-resolution format to ensure the best quality print.
Step 2: Print the Design
Load the UV DTF film into your UV printer. Make sure the film is correctly aligned and that the printer settings are adjusted for UV printing. Print your design onto the film, ensuring that the colors are vibrant and the details are sharp.
Step3: Preparing the Surface
Before you embark on your UV DTF journey, it’s crucial to prepare the surface you’ll be working on. Take a clean cloth and wipe away any dirt, dust, or residue, ensuring a pristine canvas for your design.
Step4: Peeling and Applying (But Not Too Quickly!)
Gently peel off the backing from your UV DTF film, being careful not to tear or stretch the design. Once the backing is removed, position the film onto your desired surface.
If you encounter any difficulties lifting the design, flip it over and roll off the backing while holding the film in place. This technique ensures a smooth transfer.
Step5: Smoothing It Out
Using your fingers or a soft cloth, gently press down on the film, eliminating any bubbles or wrinkles. You can use a squeegee to ensure all areas are adhered properly. Start from the center and work your way outwards, as if you’re giving the film a gentle massage. This will ensure a smooth, bubble-free application.
Step6: Admiring Your Masterpiece
Your UV DTF film application is complete! Admire your work and enjoy your custom-designed item.
How to apply uv dtf film on a skinny tumbler?
Mastering the art of UV DTF film application will open up endless possibilities for you to personalize and customize your items. With this comprehensive guide, you now have the knowledge and tools to create stunning designs that leave a lasting impression. Unleash your creativity and experiment with different surfaces, such as your laptop, water bottle, notebook, gift box, helmet, keychain, and more. Let your UV DTF masterpiece speak for itself.