

How to Source Temporary Tattoo Paper from China
2026-08-21
Meet Us at PRINT PACK SIGN EXPO 2026
2026-09-04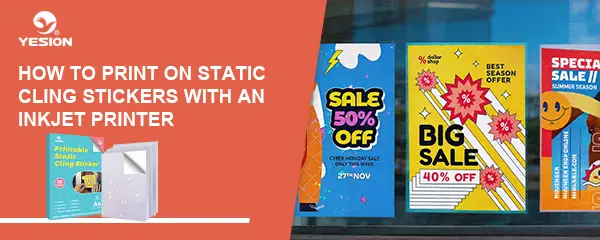
Printing on static cling stickers is a practical way to create temporary window graphics, retail promotions, seasonal signage, and custom displays. However, good print quality depends on using the right printable static cling material and matching it with the correct inkjet printing process.
As a manufacturer of printable static cling stickers, we recommend the following workflow for consistent results.
How to Print on Static Cling Stickers with an Inkjet Printer: A Step-by-Step Guide
1. Choose Inkjet-Compatible Static Cling Material
Not all static cling films are designed for desktop inkjet printers. Before printing, confirm that the material is compatible with your printer and ink system.
For commercial orders, we recommend testing the actual combination of printer + ink + static cling film before mass production. This helps confirm color performance, ink adhesion, drying time, and feeding stability.
You can explore our Static Cling Stickers for printable static cling solutions.
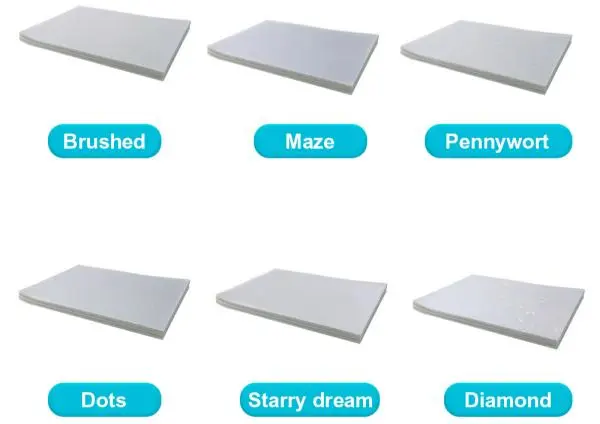
holographic Static Cling Stickers
2. Prepare and Load the Material Correctly
Check which side of the sheet is printable before loading it into the printer. Incorrect loading can result in poor ink adhesion or printing on the wrong surface.
For desktop inkjet printers, use the recommended paper or specialty-media setting according to the printer and material specifications. If the printer supports manual or rear feeding, this can be useful for specialty sheets.
For window graphics viewed from the opposite side, check whether your application requires mirrored artwork before printing.
3. Test the Printer Settings
There is no single printer setting that works for every static cling film.
Start with the manufacturer’s recommended media profile and perform a test print. Check:
-
Color density
-
Image sharpness
-
Ink coverage
-
Feeding performance
-
Drying time
If the printed surface remains wet or smears easily, excessive ink may be the cause. Adjust the media setting or ink density instead of simply increasing print quality.
4. Allow the Print to Dry
Inkjet ink behaves differently on synthetic static cling film than on ordinary paper. Allow the printed sheet to dry completely before cutting, stacking, or applying it.
Drying time varies with the printer, ink, coating, temperature, and humidity. For production orders, establishing a consistent drying procedure helps prevent handling marks and print defects.
5. Cut and Apply
After the print is dry, cut the design using scissors, a paper cutter, or a compatible cutting machine.
Before application, clean the glass thoroughly and remove dust, oil, and moisture. Apply the static cling gradually from one edge and smooth it toward the opposite side to reduce trapped air.
See the Printing & Application Process
Manufacturer Tips for Better Results
For wholesalers, distributors, print shops, and importers, three factors are particularly important: material compatibility, stable printing performance, and consistent quality between batches.
Always test a new printer or ink combination before production. If you are sourcing printable static cling stickers in bulk, ask the manufacturer for material specifications, printer compatibility, sample sheets, and recommended printing parameters.
With the right material and controlled printing process, inkjet printable static cling stickers can provide a reliable solution for customized temporary window graphics.
YESION is a professional supplier of printable static cling stickers, offering a wide range of materials and finishes for different printing and window graphic applications. Our product range includes clear, white, and holographic/textured static cling options, giving customers more flexibility for promotional, decorative, and commercial projects.
Related:
What Is a Static Cling Sticker and How Does It Work?
Static Cling vs Adhesive Stickers: Key Differences
Printable Magnet Sheets vs Static Cling: Full Comparison
Static Cling Window Film Won’t Stick?
