Elevate Your Designs with Inkjet Dark and Light Transfer Paper
2023-06-13
How to Print Decals on Waterslide Decal Paper: Simple Guide for Kids
2023-06-20Are you looking for a fun and creative way to personalize your belongings? Sublimation sticker vinyl is a fantastic option that allows you to create custom designs and transfer them onto various surfaces. In this comprehensive DIY guide, we will take you through the process of using sublimation sticker vinyl step by step, providing you with all the necessary information to get started on your own exciting projects.
Table of Contents
Introduction
Sublimation sticker vinyl is a versatile material that allows you to print your designs and transfer them onto a wide range of surfaces using heat. Whether you want to customize mugs, tumblers, phone cases, or any other item, sublimation sticker vinyl offers endless possibilities for expressing your creativity.
What is Sublimation Sticker Vinyl?
Sublimation sticker vinyl is a type of vinyl that has been specially special adhesive film to accept sublimation ink. Sublimation is a process in which heat and pressure are applied to transfer ink onto a surface permanently.
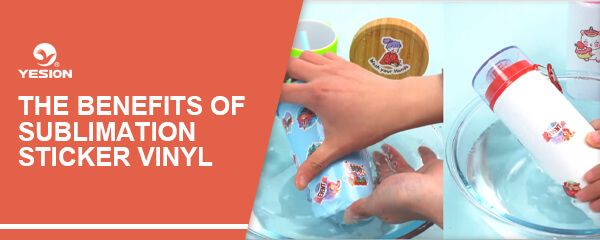
The Benefits of Sublimation Sticker Vinyl
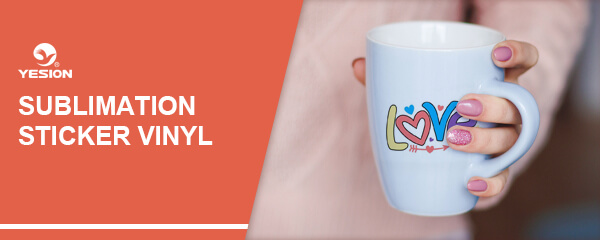
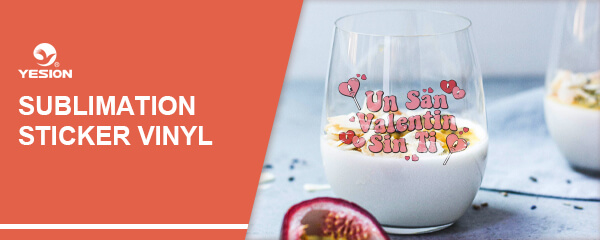
Sublimation sticker vinyl has several advantages over other customization methods. First, it allows for full-color, high-resolution prints, ensuring that your designs come to life with vivid details. Second, sublimation sticker vinyl is high contact adhesive, scratch resistant, high temperature resistance and waterproof, making it ideal for items that will be exposed to wear and tear. Additionally, sublimation sticker vinyl is compatible with various surfaces such as glass, plastic, ceramics, and metals, expanding your creative possibilities.
How to use Sublimation Sticker Vinyl
Equipment and Materials Needed
Before diving into your sublimation sticker vinyl project, gather the following equipment and materials:
Sublimation printer
Sublimation ink
Sublimation sticker vinyl sheets
Cutting machine
Weeding tool
Heat press
Protective sheet or parchment paper
Surfaces to apply the vinyl to
Preparing Your Design
Start by creating or selecting a design that you want to transfer onto the sublimation sticker vinyl. Use graphic design software to ensure that your design is the correct size and resolution for printing. Remember to mirror the design horizontally, as it will be flipped during the transfer process.
Printing Your Design
Print the desired image in mirror mode with sublimation ink on paper suitable for sublimation(not on the sticker).
Transfer your design
Set the flat press to 190 ℃, 40 seconds time and low pressure(this is YESION factory’s transfer parameters).
Place the paper with the image facing over the vinyl sticker and place on the flat press. The printed side of the paper must face the adhesive vinyl. Then press the printed image on the sublimation sticker vinyl.
Cutting the Vinyl
Cut the sublimation sticker vinyl with a cutting plotter carefully, when using a cutting machine, ensure that it is properly calibrated to achieve precise cuts. Take your time and be precise to avoid damaging the design.
Weeding the Design
After cutting the vinyl, it’s time to weed out the excess material. Use a weeding tool to remove the unwanted parts of the design carefully. Pay close attention to intricate details to ensure that the final result looks clean and professional.
Applying the Vinyl to Surfaces
Stick on any types of surface,sublimation sticker vinyl is widely used for acrylic and plastic mugs; papers, agendas, notebooks, folders; musical instruments, such as a guitar and guitar top; glazing, pictures, wall clocks and more materials!
Caring for Sublimation Sticker Vinyl
To maintain the longevity of your sublimation sticker vinyl designs, it’s essential to care for them properly. Wash fabric items according to the instructions provided, and avoid using abrasive cleaners or scrubbing the vinyl directly. For other surfaces, gently clean them using a soft cloth or sponge.
Troubleshooting Tips
If you encounter any issues during sublimate vinyl to make stickers, here are some troubleshooting tips:
Ensure that your equipment is correctly set up and calibrated.
Use high-quality sublimation ink and vinyl for optimal results.
Double-check the temperature and pressure settings on your heat press.
If the design appears faded or washed out, increase the pressure or extend the transfer time slightly.
If the design smears or bleeds, decrease the pressure or transfer time.
Inspirational Project Ideas
Need some inspiration for your sublimation sticker vinyl projects? Here are a few ideas to get you started:
Customized your tumbler with vibrant designs
Personalized mugs for gifts or promotional items
Decorative ceramic tiles for backsplashes or coasters
Unique phone cases featuring your favorite designs
Feel free to let your creativity run wild and explore different surfaces and applications for your sublimation sticker vinyl designs.
Sublimation sticker vinyl opens up a world of possibilities for DIY enthusiasts and creative individuals looking to add a personal touch to their belongings. By following the step-by-step guide provided in this article, you now have the knowledge and tools to create stunning and customized designs on a variety of surfaces. Enjoy the process, unleash your creativity, and make your belongings truly one-of-a-kind with sublimation sticker vinyl!


