Can I use self-adhesive photo paper with any type of inkjet printer?
2023-10-13
How to Handle and Store Photo Paper?
2023-10-20Using inkjet self-adhesive photo paper to make personalized labels is a straightforward process. Here’s a step-by-step guide to help you get started:
The process of making personalized labels
Choose the right self-adhesive photo paper: Make sure you have inkjet-compatible self-adhesive photo paper that is suitable for your printer. Check the packaging or product specifications to ensure compatibility.
Design your labels: Use design software or online tools to create your personalized labels. You can include text, images, graphics, or any other elements that you want to appear on your labels. Make sure to consider the size and dimensions of your labels to fit the self-adhesive photo paper.
Load the self-adhesive photo paper into the printer: Follow the specific instructions provided by your printer manufacturer for loading the pself adhesive photo paper to photo paper. Typically, you’ll need to place the self-adhesive side facing up in the designated paper tray.
Adjust printer settings: Open your print settings and choose the appropriate paper type and print quality settings. For the best results, select the settings recommended for the specific self-adhesive photo paper you are using.
Print a test page: Before printing a large batch of labels, it’s a good idea to print a test page to ensure that the design, alignment, and colors appear as intended. Make any necessary adjustments to your design or printer settings if needed.
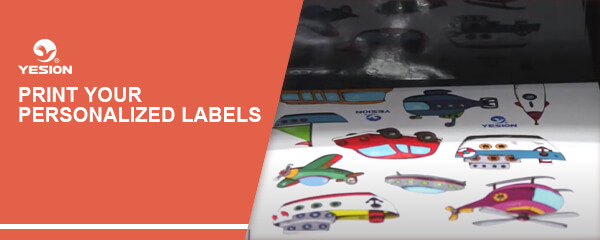
Print your personalized labels: Once you’re satisfied with the test print, proceed to print the rest of your labels. Depending on the design software or online tools you’re using, you may have the option to print multiple labels per sheet or print them individually.
Allow the printed labels to dry: After printing, give the labels some time to dry completely. This will help prevent smudging or smearing of the ink when handling them.
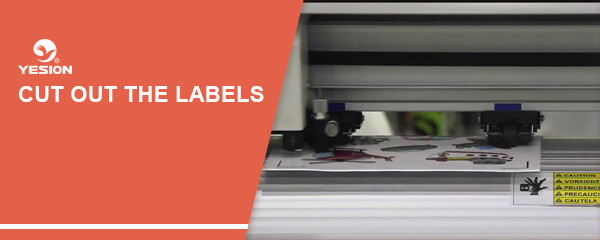
Cut out the labels: Carefully cut out each label using scissors or a paper cutter, following the outlines or guidelines provided in your design. Take your time to ensure clean and precise cuts.
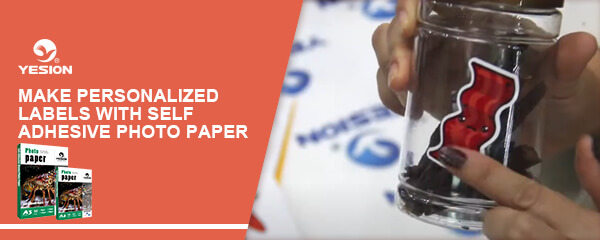
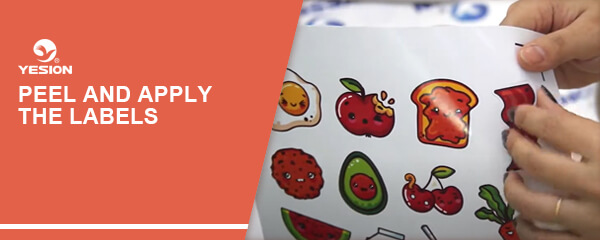
Peel and apply the labels: Peel off the backing of each label to expose the adhesive side. Align the label with the desired surface and carefully stick it in place, pressing down firmly to ensure proper adhesion. Avoid touching the adhesive side with your fingers to prevent any oils or dirt from affecting the adhesive.
Smooth out any air bubbles: If you notice any air bubbles or wrinkles on the labels, gently smooth them out with your fingers or a small flat tool, such as a credit card, to ensure a clean and professional look.
If you still have questions, please follow this video to learn more:
How to use inkjet self adhesive photo paper to make personalized labels?
By following these steps, you’ll be able to use inkjet self-adhesive photo paper to create personalized labels for various purposes, such as product labeling, event invitations, or party favors. Enjoy the process of designing and creating your own unique labels!
Take advantage of self-adhesive photo paper when creating personalized labels
Consider label shapes and sizes: Self-adhesive photo paper often comes in standard label sizes, but you can also find options that allow you to create custom shapes and sizes. Think about the purpose of your labels and choose a size and shape that fits your needs. Rectangular, square, and circular labels are popular choices, but feel free to get creative!
Use a grid or template: To ensure accurate alignment and spacing of your labels, consider using a grid or template. Many design software or online tools offer pre-made label templates that you can customize. Alternatively, you can print a grid onto plain paper and place your self-adhesive photo paper on top as a guide for proper positioning.
Test the adhesive strength: Before applying your labels to the final surface, it’s a good idea to test the adhesive strength on a small, inconspicuous area. This can help you determine if the labels are easy to remove or if they leave residue behind. You want the labels to stick securely but also be removable when needed.
Protect your labels: If you want your labels to be more durable and resistant to water or smudging, consider using a clear adhesive laminate or clear spray sealant. This extra layer of protection can help preserve the appearance of your labels, especially if they will be exposed to moisture or regular handling.
Get creative with design elements: Self-adhesive photo paper allows you to print vibrant and high-quality images. Take advantage of this by incorporating eye-catching graphics, logos, or photos into your label designs. Experiment with different fonts, colors, and backgrounds to make your labels visually appealing and reflective of your personal style or brand.
Store unused labels properly: If you have leftover self-adhesive photo paper or partially used sheets, it’s important to store them properly to maintain their quality. Keep them in a cool, dry place, away from direct sunlight or extreme temperature changes. This can help prevent the adhesive from deteriorating and ensure that the remaining labels remain sticky and usable.
Remember, practice makes perfect! Don’t be afraid to experiment and iterate with your label designs to achieve the desired result. With inkjet self-adhesive photo paper, you have the flexibility to create personalized labels that truly stand out. Enjoy the process and have fun customizing your labels!
Related:
Can I use self-adhesive photo paper with any type of inkjet printer?
Discover the Perfect Glossy Self-Adhesive Photo Paper: Unleash Your Creativity!
Why choose self adhesive photo paper by YESION factory?

