Mastering Sublimation HTV on Cotton: Techniques and Tips
2023-11-17
Choosing the Perfect Waterslide Decal Paper
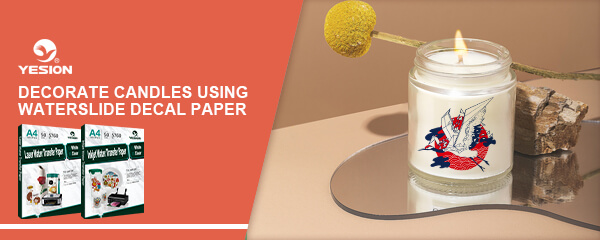
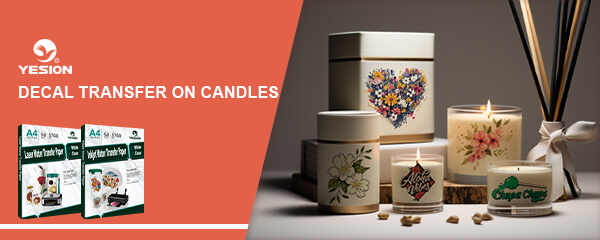
2023-11-24Candles are not only a source of light but also a popular decorative item that can add warmth and ambiance to any space. If you’re looking for a creative way to customize your candles, waterslide decal paper is a fantastic option. Waterslide decals are thin, transparent sheets that can be printed with any design and transferred onto various surfaces, including candles. In this article, we will explore the process of decorating candles using waterslide decal paper, the materials needed, and some tips for achieving beautiful and professional-looking results.
Materials Needed to Decorate Candles
To get started with decorating candles using waterslide decal paper, you will need the following materials:
Waterslide decal paper: This special type of paper can be purchased online or at craft stores. Make sure to choose the appropriate paper for your printer type, whether it’s inkjet or laser.
Printer: You will need a printer to print your designs onto the waterslide decal paper. Ensure that your printer is compatible with the type of decal paper you’re using.
Design software: You will need design software on your computer to create or customize the designs you want to transfer onto the candles. Popular options include Adobe Photoshop, Illustrator, or free alternatives like GIMP or Canva.
Clear acrylic spray or sealant: This is used to protect the decal and ensure it adheres well to the candle surface.
Scissors: You’ll need scissors to cut out the printed decals from the waterslide paper.
Bowl of water: A bowl of water is necessary to soak the decal before transferring it onto the candle.
Tweezers: Tweezers can be helpful for handling the delicate decal and placing it onto the candle.
Candle: Of course, you’ll need a plain candle to decorate! Choose a candle with a smooth surface for the best results.
Steps to Decorate Candles Using Waterslide Decal Paper
Now that you have gathered all the necessary materials, let’s dive into the step-by-step process of decorating candles with waterslide decal paper:
Design your decals: Use your preferred design software to create or customize the designs you want to transfer onto the candles. Keep in mind that the size of the design should fit the candle’s surface.
Print the decals: Load the waterslide decal paper into your printer and print your designs onto the glossy side of the paper. Ensure that you’re using the appropriate printer settings for the decal paper you have.
Let the decals dry: Once the decals are printed, allow them to dry completely. This step is essential to prevent smudging or smearing when handling the decals.
Cut out the decals: Use scissors to carefully cut out each design from the waterslide decal paper. Leave a small border around the design to ensure a clean transfer onto the candle.
Soak the decal: Fill a bowl with lukewarm water and gently place the decal into the water. Let it soak for about 30 seconds or until the decal starts to slide off the backing paper.
Transfer the decal onto the candle: Carefully slide the decal off the backing paper and onto the candle’s surface. Use tweezers to ensure precise placement and smooth out any air bubbles or wrinkles.
Smooth out the decal: Gently press down on the decal with a clean, dry cloth or your fingers to remove any excess water and ensure it adheres well to the candle’s surface.
Let it dry and seal: Allow the decal to dry completely on the candle. Once dry, apply a thin coat of clear acrylic spray or sealant over the decal to protect it from wear and tear.
Optional: Repeat the process if you want to add more decals or create a layered design.
VIDEO: How to use Waterslide Decal Paper on Candle?
Tips for Successful Decal Transfer
Here are some additional tips to help you achieve the best results when decorating candles with waterslide decal paper:
Test print: Before printing on the actual waterslide decal paper, do a test print on regular paper to check the sizing and quality of your designs.
Clean the candle surface: Ensure that the candle’s surface is clean and free from any dust or debris before applying the decal. This will help the decal adhere better.
Handle with care: Waterslide decals are delicate, so handle them gently to avoid tearing or wrinkling. Using tweezers can provide more precision during the transfer process.
Smooth out air bubbles: As you apply the decal onto the candle, use a clean, dry cloth or your fingers to smooth out any air bubbles or wrinkles. This will ensure a seamless and professional-looking finish.
Allow sufficient drying time: Patience is key! Make sure to let the decal dry completely before applying the clear acrylic spray or sealant. This will prevent smudging or damage to the decal.
Experiment with different designs: Have fun experimenting with different designs, colors, and patterns when creating your waterslide decal candle decorations. You can use images, text, or a combination of both to personalize your candles for different occasions or themes.
Practice on a spare candle: If you’re new to using waterslide decals on candles, it’s a good idea to practice on a spare or inexpensive candle first. This will allow you to get comfortable with the process and make any necessary adjustments before working on your final candles.
Consider the candle’s surface texture: Smooth-surfaced candles work best for waterslide decals. Avoid using heavily textured or uneven candles as the decal may not adhere well or appear as smooth and seamless.
Apply multiple layers: If you want to create a layered design, allow each decal layer to dry completely before applying the next one. This will ensure that the different layers do not smudge or blend together.
Customize candle colors: Remember that waterslide decals are transparent, so the color of the candle will influence the appearance of the design. Consider using lighter-colored candles for vibrant and bold designs, and darker-colored candles for more subtle and elegant designs.
Choosing the Right Candles: Before diving into the decoration process, it’s essential to choose the right candles. Smooth and non-textured surfaces work best for decal application, ensuring a seamless and professional finish.
By following these steps and tips, you can create beautifully decorated candles using waterslide decal paper. Whether you’re making candles for yourself or as gifts, this technique allows you to add a personal touch and bring your creative vision to life. So let your imagination run wild and start decorating your candles with stunning custom designs!
Related:
Waterslide Decal Paper: A Comprehensive Guide for Crafters and Hobbyists
How to Print Decals on Waterslide Decal Paper: A Simple Guide for Kids
FAQs
Waterslide decal paper works best on smooth and non-textured candle surfaces for optimal results.
The drying time can vary, but typically, it takes a few hours for the decal to fully set on the candle.
Yes, you can layer multiple decals to create intricate and layered designs on your candles.
A standard inkjet printer or laser parinter is sufficient for printing on waterslide decal paper; no special equipment is required.
While candles can be gently cleaned, it’s advisable to avoid submerging them in water to maintain the integrity of the decals.


