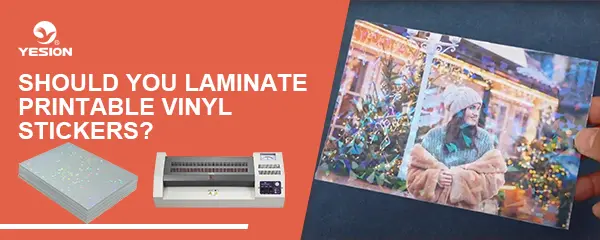
Should You Laminate Printable Vinyl Stickers?
2026-01-23
PET vs PP Printable Sticker Paper: Which Is Right for You?
2026-02-06
Cold laminating without bubbles comes down to surface prep, tension control, and steady technique. When all three are right, bubbles are almost completely eliminated. Here is a clear, professional process.
1. Prepare the Surface Properly
Bubbles almost always start before lamination.
- Clean the print or substrate with a lint-free cloth
- Remove dust, oil, and static (especially on vinyl and PET films)
- Ensure the print is fully dry and cured
- Work in a clean, low-dust environment
Even microscopic particles can create visible air pockets once laminated.
2. Use the Correct Cold Lamination Film
Film choice matters more than most people realize.
- Use pressure-sensitive laminate designed for cold lamination
- Match the laminate type to the substrate (vinyl, photo paper, PET, etc.)
- Store film flat at room temperature to avoid curl memory
High-quality films with a compliant adhesive flow better and push air out naturally.

Using Cold Laminating Film
3. Set Proper Roller Pressure and Alignment
Incorrect pressure is the #1 cause of bubbles.
- Rollers must be parallel and evenly pressured
- Start with light pressure, then increase gradually
- Too much pressure traps air; too little fails to bond evenly
For manual laminators, keep both sides tensioned evenly. For machine laminators, calibrate roller gap carefully.
4. Control Lamination Speed
Speed affects how air escapes.
- Laminate slow and steady
- Avoid sudden starts or stops
- Slower speed allows adhesive to “wet out” and release trapped air
Rushing the process is one of the fastest ways to create bubbles.
5. Use the “Hinge Method” for Manual Lamination
This technique prevents air from entering at the start.
- Align laminate and print perfectly
- Tape one edge as a hinge
- Peel back a small section of release liner
- Begin laminating from one side, working across evenly
This controlled start is critical for bubble-free results.
6. Maintain Even Tension on the Laminate Film
Uneven tension causes wrinkles and air pockets.
- Keep the laminate taut but not stretched
- Avoid letting the film sag
- Feed laminate straight into the rollers
Consistent tension ensures smooth adhesive contact.
7. Work From the Center Outward
Whether using a laminator or hand roller:
- Start pressure in the center
- Allow air to escape toward the edges
- Never press air inward or sideways
This technique naturally pushes air out of the laminate.
8. Use a Soft Roller or Squeegee for Small Jobs
For small prints or decals:
- Use a felt-edge squeegee or rubber roller
- Apply even pressure at a shallow angle
- Move slowly and deliberately
Hard tools increase the risk of trapping air or scratching the surface.
9. Fix Small Bubbles Immediately
If a bubble appears:
- Stop immediately
- Lift the laminate back slightly
- Re-apply with lighter pressure
For tiny trapped bubbles:
- Prick with a fine needle
- Gently press air toward the pinhole
Do this only after lamination is complete.
10. Control Temperature and Humidity
Environmental conditions matter.
- Ideal temperature: 18–25°C (65–77°F)
- Avoid high humidity
- Cold adhesive flows poorly; hot environments cause stretching
Stable conditions help the adhesive settle evenly.
Professional Tip: Use a Cold Laminator for Consistency
Manual lamination works, but a cold laminating machine delivers:
- Even pressure across the entire width
- Stable speed
- Far fewer bubbles and reworks
For frequent production, a laminator quickly pays for itself in reduced waste.
Final Takeaway
Cold lamination without bubbles is about control, not force. Clean surfaces, correct pressure, slow speed, and even tension allow the adhesive to flow and release air naturally. When done correctly, bubble-free lamination becomes repeatable, fast, and professional every time.
Related:
How Cold Laminating Film Protects Your Photos and Prints
Types of Cold Laminating Film
Can I use cold laminating film without machine?
What can you do with cold laminating film?